Hi Everyone..........its Annie here and I would like to welcome you to my first Destination Inspiration post at AVJ. Here the Creative Guides hope to provide you with some projects to inspire and motivate you.
Today I am sharing a recycled and re-purposed box so lets go !! It is a bit photo heavy so grab a cuppa as we head on our journey. :-)

This is the box that I started off with...its fairly sturdy and great for storing various crafty items.

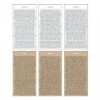
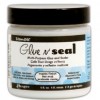
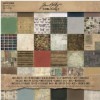
I used Tim Holtz Vintage Shabby papers to cover the box inside and out and once I had cut them to the required size I started to create ..........Ranger Glue n Seal was applied to both the box and the papers as I found this enables easier positioning.

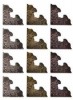
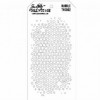
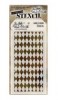
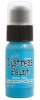
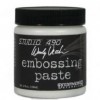
First of all I added Distress Paint to colour some texture paste, which I applied to the paper using Tim's Harlequin stencil. (I find it easier to decorate the papers before applying them to the outside of my box..but its up to the individual.)

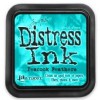
I then blended the edges of the paper in Peacock Feather DI, which really intensified the blue tones of the paper.

A piece of manila card was given Tim Holtz Marbling Effect, details of this technique are on page 43 of CC3. Stencil's, Distress Inks and some stamping, which you can see in the next photograph, were added to create more depth.

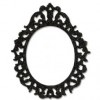
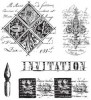
The manila card was then adhered to Tim's Ornate Frame Die using Ranger Collage Glue. Peacock Feather Distress Ink was applied around the edges of the ornate frame as well as a little gilding wax here and there. (The stamped image you can see is from Tim Holtz SA Classics 19.)

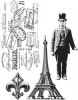
A favourite stamp set of mine is the Paris Memoirs and you can see below how they were stamped and cut out. The edges of the main stamped image were aged using Tim's distressing tool. The word Paris, the gent's tie/waistcoat were coloured using Distress Marker's in China Blue and Scattered Straw.

Vintage Photo DI was applied around the edges and then the piece was matted on to some navy card, which had also been aged around the edges.

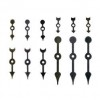
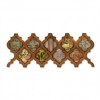
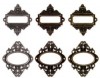
Now my pages are coming together and I added some Idea-ology ornate frames, a trellis (TH Trellis Die), gilding wax and TH Bubble stencil.

Building up the other side you can once again view stenciling, Idea-Ology and gilding wax.

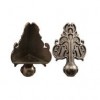
Once I was satisfied with the decor I then began to add other Idea-ology pieces i.e the feet and corners. The feet and corners were adhered with Glossy Accents.

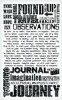
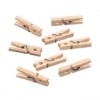
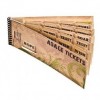
This is the first of the finished views, where you can see I adhered a TH Adage Ticket and Chit Chat sticker on a mini clothes peg.

A side view with stencilling and TH rub ons

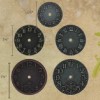
More stencilling on this side and an Idea-Ology Time piece with Spinner.

Back to the front again, where I also applied a rub on.

So there you have it my Recycled and Re-Purposed box, all ready to store some of my crafty bits and treasures.
Thank You for sticking with me and I hope you have enjoyed what I have shared with you today.......... x
Best Wishes
Annie xx