This is a unique challenge blog where we are inspired by and focus on the Vintage; shabby; mixed-media; art journaling; industrial, timeworn and steampunk genres and encompass the talent, flair, expertise and ideas of many artists that we are inspired by. We welcome all types of projects - cards, journaling, assemblage, layouts, albums, atcs, altered art in fact whatever you want to share (as long as it is in good taste).

Friday 30 August 2019

August Tag Friday

Welcome everyone to another of our fabulous Tag Friday posts. Yes it’s that time again to see what the amazing Creative Guides have been playing with to create their tag projects - no themes, no constraints just sheer unadulterated creative time to express themselves in any way they want but keeping to the genres we love to play with.

Here we go.

I decided to get my paints out and create a Seth Apter inspired background for my tag today using Paper Artsy Fresco Acrylics. For more photos and details it would be lovely to see you at Addicted to Art.


Oh, I do love a Tag Friday.  I usually take the chance to do some fairly simple inking and stamping, going back to that joy I found right at the start of my crafting journey, and that's exactly what's going on with this last-days-of-summer tag.  Do come over to Words and Pictures to see how these clear-embossed images shimmer in and out of sight - it's almost as though those migrating birds are here, and then they're gone...


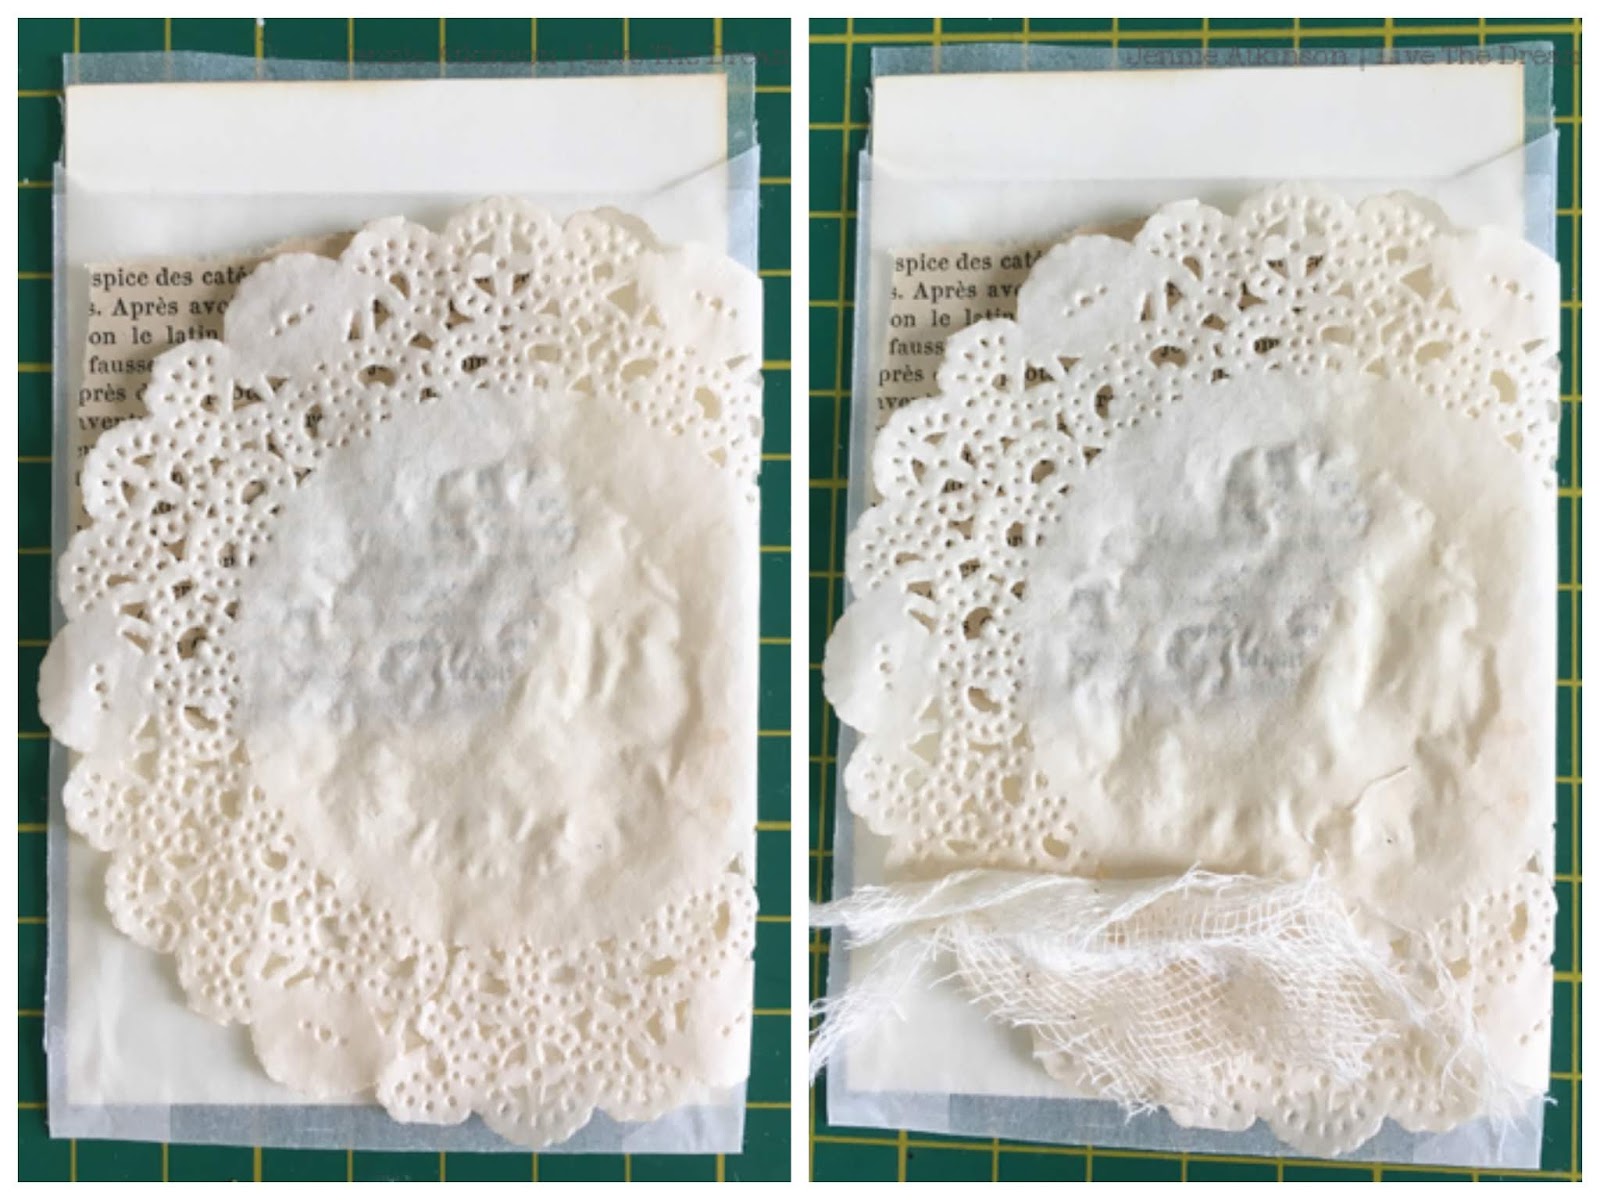
I decided to go Shabby Chic this month and used some tea dyed bits and pieces to tie in with Jennie's fabulous theme this month. If you are interested there is a little tutorial and step out photos on
my blog


I couldn't wait to try some of my newest Tim Holtz Halloween products, and Tag Friday was just the push I needed to get started. I have a simple step by step tutorial at sarascloset if you would like to hop over.


My colorful tag depicts the changing of the seasons.  A lovely bucket of flowers says warm sunny days but Autumn is not far behind with its rich shades of orange and brown. 


 Hi Everyone! I had lots of fun creating a Mixed Media tag for my tag journal. This time I was inspired by the butterflies that have been visiting our garden recently, so I captured both a Painted Lady and a Peacock butterfly on this double-sided tag. To see how I created it please find full details on my blog over at Let's Art Journal.


My inspiration comes from crazy Dali. I finished the background with Distress Oxide Sprays. Do pop over to my blog, there are more details.


Having had much fun with my Gelli Plate this last month I decided to make a simple tag from a piece left over from another project and added a little over stamping and this lovely quote. Do join me over on my blog if you would like to see more details.


I spent a lovely few days in Northumberland last week. It's the first time I've ever been there and I must say how much I loved it. This tag holds a photo of the beautiful view, across the bay to Holy Island, as seen from our campervan. I hope the memory of it will keep me going through the impending winter months! Hop over to my blog if you'd like to see how it came together.


Its lovely to be sharing a tag as its something I have not created for some time. I created the background using Tim Holtz Distress Oxide Sprays, some lace and a dress form by LaBlanche, which I adore. For details pop over to my blog HERE


We are at the end of August and I'm already in the Halloween mood! I made a tag with the most classic colors of this celebration using many Tim Holtz products! The Crackle 3D folder is unbelievable! I used it from the opposite side where the effect it creates is totally different, very similar to the bubbles, it seemed me perfect to match the witches' cauldron! Check out my Blog Yayascrap & more to see every detail!


Amanda
For our Tag Friday I decided it was time I used some of my 'stash' that I have had for a long time and haven't as yet used!  From a pile of 'plenty' (plenty more than I like to admit to) I picked out a couple and teamed them up with some of my well used products to create a tag with a powerful image that both emotes and evokes.
You are very welcome to pop by my blog to see and read more.


Wow what an incredible line-up again this time around, there are so many beautiful designs, colour combinations and styles, I am sure there is something for everyone to look at. Thank you Team for all your hard work but I know you enjoy doing these Tag Friday projects and we can see you have had great fun creating them.

Wishing everyone a fabulous weekend and we look forward to seeing you back again next week for the start of a new challenge month with the lovely Julia hosting.
See you soon.

Hugs Brenda and the Creative Guides xxx


You are invited to the Inlinkz link party!
Click here to enter

Friday 23 August 2019

Card Making Tutorial with Jo

Hello everyone! It's Jo from Let's Art Journal here with this month's card making tutorial. I always make cards for family and friends, so I'm sharing a Shabby Chic style card that I made for a forever friend of mine. 


Here's how is came together ...


For the background, I cut a piece of Kraft Card to cover a 6x4" card and ran it through a Tim Holtz Botanicals embossing folder. It is covered with a thin layer of chalk paint using a baby wipe which highlighted the texture more.


Next I created a small panel using white card and pieces of Tim Holtz Collage Paper that I stuck into place using matte gel medium. When dry I cut any excess paper from around the edges and gave it an aged look by applying Tea Dye and Vintage Photo Distress Ink using a blending tool.


I had some leftover paper that I had coloured green and purple using various inks; they were created by stamping the ink pads onto a blending mat, spritzing with water and pressing white paper onto the mat to create a mottled ink effect. I used two sets of Tim Holtz Thinlets to die cut some foliage and the lavender flowers. I intensified the colour of the flowers and stems using some Milled Lavender and Mowed Lawn Distress Ink.


I applied some of the Tea Dye and Vintage Photo Distress Ink again, this time to the Botancials embossed background to give more of a worn look and highlight the embossed texture more. Then I had fun putting all the different layers together.


I added a piece of purple chiffon ribbon and a piece of lace to the bottom of the card and layered the collage paper panel on top. Next I bound the lavender stems together with some dyed ribbon; I got very messy colouring this gold ribbon with green Distress Inks. The lavender is layered on top of the foliage and I added a pretty heart embellishment to the panel.


To finish, I added a Tim Holtz Quote Chip which reads "Love this Life" and stuck the whole thing onto a 6x4" card which I made from white card stock.


I love this design and I'm really pleased how this came together! If you are interested, you can find a full list of materials that I used to create this card over at my blog here.

I hope you enjoyed my card making journey today, thanks so much for travelling with me. 
Don't forget that there is still plenty of time to join in with our current A Cup of Tea for your Art challenge and that you can also start creating your tags to join Tag Friday next week too; it would be lovely to see you there!

Happy and Creative Wishes! Jo x

Friday 16 August 2019

A Cup of Tea for Your Art : Tutorial

Hello to you all and welcome to our monthly tutorial post. Jennie (Live the Dream) with you this month as the host for the challenge "A Cup of Tea" sharing with you some of the ways I used tea dyed elements in my journal. I used Eileen Hull's wrap around journal die to create the cover and her Passport die to create the inside booklets.


This is quite a long post so you might need to pour yourself a cuppa !!!


It is quite a daunting task to fill even the smallest of journals but I like to make a pile of embellishments which I can then use quite quickly to decorate my pages. For this journal I put aside a couple of days and cleared my desk both to tea dye elements and also to make lots of envelopes and ephemera ........


I quite literally poured myself a mug of tea from the left overs in the pot after tea one evening. Even in a small mug it is possible to dye quite a bit of lace, ribbon, pieces of wood, little flowers ......


You can get different levels of colour by using different types of textile. For example cotton lace takes the tea far more than an acylic based one. The lace and ribbon on the right hand side of the photograph was removed after one hour, while those on the left were left in the cup overnight.


Dyeing paper requires a bit more organisation and access to the kitchen. I make up a watery solution in a large washing up bowl and immerse ordinary copy paper into the water, shake it a little and hang it on the clothes airer. Do put an old shower curtain or something similar on the floor or the drips will stain the floor! Once they have hung for about 20 minutes I collect 4/5 pieces together and lay them on top of each other and put them in the oven (140 degrees) for about 10 minutes which really "crisps" them up!

By this time I had a lovely pile of dyed papers and textiles to work with.


I folded an A4 page of dyed paper into four and used a few of my favourite tag dies to cut as many shapes as possible.


I then stamped these with some favourite stamps. The child in me loves little piles of labels to work with!


I also used some of my ticket and label stamps to create some mats. I have added a little Vintage Photo Distress Ink around the edges to make them look more complete.


Next I made some small packets from the tea dyed paper using the Tim Holtz mini packet die and then stamped and decorated them with various tags, stamps and ribbons. Creating in this way - focusing on a single element - means I can have a lot of creative fun and even if they are not going to all be used for this project they will be used for another.


I had some vellum lying on the desk so  added some elements on top and behind to create a little collage which then got stiched on the machine rather than glued.


This is a good opportunity to go through the bits box to find elements stamped for other projects and not used. Add in a couple of favourite dolls ........


Finally I cut my pages for the journal using Eileen's Passport die (they fit perfectly into the Wrap Around Journal).

For the front of each individual booklet I created a large vintage layered pocket for some journalling.


I started with a glassine pocket (stamp collectors use these and are easy to purchase on Ebay) and added a piece of card for journalling. I started decorating the front by adding some old text paper ......


..... next I added a  tea dyed doily and some white muslin ......


..... followed by a vintage photograph and then ribbon was tied around the whole envelope


..... finally I used one of my stamped labels and pearl button.


As I created I placed the finished items in a little box all ready for me to use. As a child I loved collecting things and having them in boxes ..... nothing changes!

I was then able to sit down and decide what I wanted to stick into each of the individual booklets and to set aside elements for the front cover.


I made a little pocket for the cover which I then stitched onto some vellum which was then stitched on to another label, a doily and some lace. It is a little fragile for a cover but the stitching will help to hold it all together over time. I used lashings of lace and ribbon to hide the elastic holding in the booklets, however I had dyed that in tea as well to tone it down a bit.

Hopefully you are still with me ! I will finish up with a few photographs of the inside pages so you can see how I used all those wonderful tickets, labels and pockets.


I hope this tutorial and a peek into the way I make up a journal will inspire you to give it a go. There is still plenty of time to join in our Cup of Tea challenge and you can get all the details HERE along with some fabulous inspiration from my fellow Creative Guides.

As always thank you for joining me and have a wonderful crafty weekend.

Jennie x


Friday 9 August 2019

'Precious Metal' Challenge Pinworthy Winners

Hi Everyone and Welcome

Amanda (ink-a-pink) here with you today to share news of our 3 chosen Pinworthy Winners for our 'Precious Metal' challenge.

We had some wonderful submissions and would like to say a big 'Thank You' to everyone who joined us in the challenge. 
 The Creative Guides really enjoyed viewing your creations and selecting their favourites wasn't easy. We always have great difficulty narrowing our choices down to just 3 Pinworthy winners but needs must so after much deliberation here are our choices:

In no particular order our Pinworthy Winners for the 'Precious Metal' challenge are :
(drum roll please)


Congratulations to you all!
We will be in touch shortly with your Pinworthy badges and your projects will be pinned to our Pinterest board

Thanks once again to Everyone who joined us in this Challenge.  We really do love and appreciate that you share your creativity with us.
We hope you will join us this month for Jennie's fabulous challenge 'A Cup of Tea for your Art'.  All the challenge details and an inspirational gallery of projects created by some of our Creative Guides can be located here.

Wishing you all a lovely day 
Take Care
and 
keep on Creating 
Amanda
x

Friday 2 August 2019

A Cup of Tea for your Art : August Challenge

Hello you all! 

Jennie (Live the Dream) here with you this month as your host and welcoming you to our new challenge. What better things in life are there than to settle down to some crafting with our favourite beverage. But what if we were to use them in our artwork (and I am not talking about wine here!). This month I am challenging you to

Pour yourself an extra cup of tea (or coffee) 
and use it in your project

In your cup you could dye lace, ribbon, wood, paper and flowers, or use it to create splashes or cup rings on your project. And don't just limit yourself to "ordinary tea" - there's green tea, yellow tea, black tea, herbal teas and fruit teas - whatever you've got in your cup!

Just remember to ensure that you create in one of our preferred styles of vintage, shabby, mixed media, art journaling, industrial, timeworn or steampunk.

Our fabulous Creative Guides have created some wonderful projects to inspire and delight you. Just click on the links to be taken to their individual blog pages for all the details.

_____________________________


I had a massive tea dying session and had a great time creating lots of little envelopes and collages for this vintage journal using Eileen Hull's Wrap Around Die. As your host I will be back later in the month with a project tutorial but in the meantime I have a couple of sneak peeks on my blog.


Inspired by Jennie’s fabulous challenge and some wording on a sign at a local teashop, I had fun using a cup of Hot Cinnamon Spice tea for my art journaling this month. I applied the tea using both the teabag and the teacup to create a tea-stained background. To find out more please pop over to my blog, Let’s Art Journal, to see how it all came together.


I loved the theme of Jennie's challenge and had great fun creating a little folder for a pen friend out of two tea dyed envelopes. The pockets will be filled with little tags and ephemera, all created with the help of tea and tea dyed papers. To see how it all came together, please come by my blog.


I made a card for Jennie's delightful Cup of Tea Challenge -  taking it quite literally with my tea themed stamps.  I brushed brewed Kenyan tea over watercolor paper for my background and added a vintage lace 'table cloth' under my teapot!  You'll find more details on my blog post here.  I hope you'll stop by for tea!


I was inspired by Jennie's wonderful challenge theme and a box of Harvest Spice tea in my pantry to make a card for my brother and sister in law. Not only do I have that lovely tea stain on my papers and bow, but my card smells nice, too! If you would like to see the details of my card, I welcome you to stop by my blog.


I interpreted the fabulous Jennie's Challenge A Cup Of Tea, with a summer theme! I had much fun creating a canvas, Tea on the beach, using Tim Holtz's die Teatime in a different way! I chose a color palette inspired by the sand and the ocean! Paper Dolls are perfect to fill my Cup of Tea, hope you like this project! You can find the tutorial on my blog!

_______________

How could you not be inspired by such wonderful projects!

We really hope that you will join us in this challenge.  The challenge begins today and remains open for entries until the 5th September. So plenty of time to get that kettle on and start creating!

Jennie x


You are invited to the Inlinkz link party!
Click here to enter