
It's S@ndy here with you today to share how I made this festive Holly Jolly Christmas Card.
I hope your holiday season is Merry & Bright and that you have had a chance to join our challenge this month.

When I hear Holly Jolly, my mind goes straight to Santa. For this Santa the St Nick die from Tim Holtz was used. When using this die, it is an exercise in paper piecing. This is a large card measuring 5" X 7" leaving lots of space on the inside for writing a personal note.

I kept the inside clean and simple by using one extra panel edged with Vintage Photo Oxide Ink and one stamp from Elizabeth Craft Designs. The other cards I made for this year are smaller but I needed a few larger ones for those special people in my life.

Start with the basic card shown here in manila. The other two panels for the front of the card are shown above as well.

Beginning with the craft colored panel stamp with background stamp in different areas using first and second generation stamping. This panel was stamped with one of Tim Holtz's older script stamps and the Gina K amalgam ink, Chocolate Truffle.

To give the panel a wintery look, rub some white pigment ink around the outside of the panel. By doing this, it will make the background seem to move to the back.

To give the panel a vintage look, it was stamped around the edges with the same amalgam ink and then clear embossing powder was added and heated. This gives a nice frame for Santa. I used some stamps from my stash that were stamped off the edge of the panel.

When using a die that has not been used for awhile, I need a refresher. A practice template, shown above, was made to help me remember how the pieces go together. This is also a good way to see if edging is needed. I liked the Vintage Photo Ink on the beard. I drew around the face section so I could cut it out.

The template was used to cut out the face section on the final piece. By lining them up and then drawing around the opening - you get perfect placement.

The face section was cut away because Velvet paper was used here - I wanted the face to look as if it were in the background behind his beard.

Before Santa is placed on the card, the holly leaves need to be trimmed off (shown in the circle above) because they will be replaced with green later.

After Santa was edged - he was placed on the card and then the mustache, hat and nose were added. The nose is made with Nuvo Drops.

The finishing touches were added - the holly leaves with small beads for the center and the eyes and eyebrows.
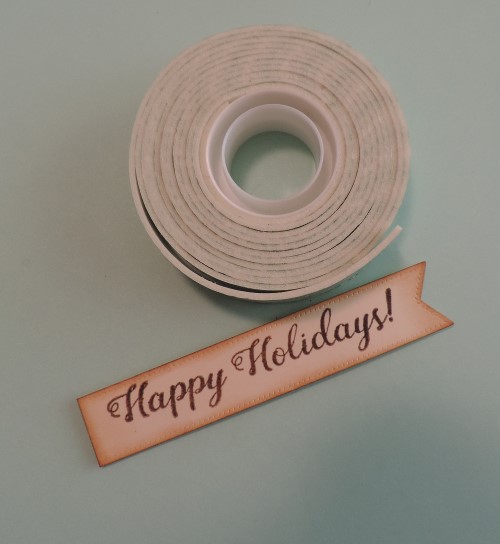
The Happy Holidays greeting was stamped on a banner (both from Elizabeth Craft Designs) and added to the card with foam tape to make it pop up.


Happy Holidays to you and your loved ones,
S@ndy
I still love this version of Tim's Santa. He was just preparing us for more complicated dies when he started doing these! thanks as always for sharing.
ReplyDeleteA super card and tutorial Sandy x
ReplyDeleteWhat a great Santa card Sandy - thanks for all the creation details!
ReplyDeleteWow, what an amazing card! I love your design and how it all came together, he certainly is a jolly old santa 😁. Thanks for the inspiration and wishing you a Holly Jolly December! Hugs, Jo x
ReplyDeleteHe's absolutely delightful, Sandy - and I love that vintage sepia background. A great festive card.
ReplyDeleteAlison x
I so loved reading your blog post and thank you for the step by steps on how you did your fabulous card. It is unique, fabulous and I love it! x
ReplyDelete