Hello, it's Deb back with you again to share a tutorial on how I created my Beautiful Moments watercolour painting for our current Watercolour Wonders challenge.
If you missed our July challenge, here is the brief:
This month we want to see what can you create with water reactive mediums. There are lots of options - watercolour paints, dye inks that react with water, or any of those wonderful powders that bloom to life when sprinkled onto a wet surface. Just remember to create your project in one of our preferred styles: vintage, shabby, mixed media, art journaling, industrial, timeworn or steampunk.
I decided to paint my little floral watercolour study using watercolour paints and watercolour pencils.
It was super easy to do and believe me, if I can do it anyone can because I am most certainly not an illustrator! The secret I have found is to hold the watercolour pencil near the end and lightly sketch your florals without worrying about how realistic they look. You are looking for a representation of the flowers, not a botanical study. I've made a quick little video to show you how I made my sketch with the watercolour pencils.
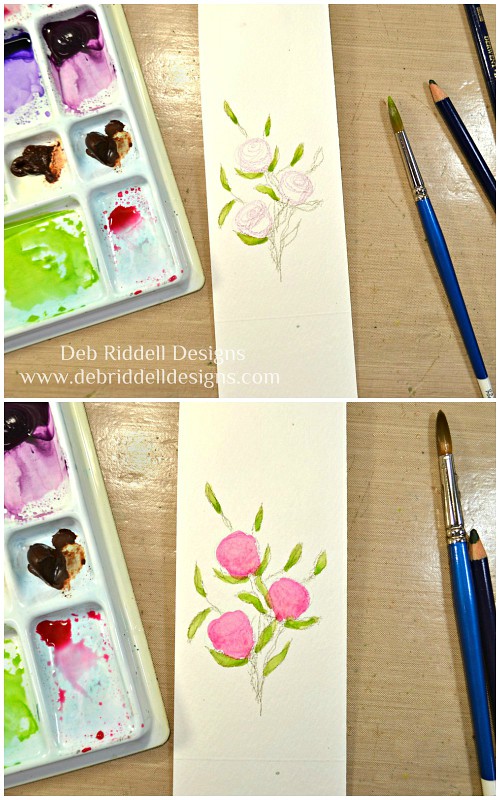
See, easy right? After sketching, mix a little green watercolour paint and apply it to the sketched leaves in a loose fashion with a round paint brush.
Then mix some pink or red watercolour and apply it to the sketched flowers, don't worry if the paints bleed together a bit, that's part of the joy of watercolour!
While the paint is still wet, go back to the leaves and flowers and sketch back over them with the watercolour pencils. Add some 'swirls' to the top of the flowers to simulate petals.
Make a light green wash and colour in the background around your flowers, letting the paints mix and blend. Add a little bit of clean water here and there to help the paint colours move into each other.
Take the green watercolour pencil and sketch the stems back in while the paint is still damp. Set the painting aside to dry.
Add another water reactive medium to your painting by creating a background with Distress Ink. Ink up the BACK of a floral stencil with blue Distress Ink, spritz the inked stencil with water and press it firmly onto a piece of watercolour paper. Blot up any of the ink that comes up through the stencil. Let the blue ink dry.
Replace the stencil over top of your monoprint, lining it up, and then ink with green Distress Ink through the stencil as you normally would.
Trim your watercolour floral to size and tatter the edges with a distress tool or your scissors. Mount the watercolour painting on to a piece of sanded gold Metallic Kraft Stock with a scant 1/8" reveal.
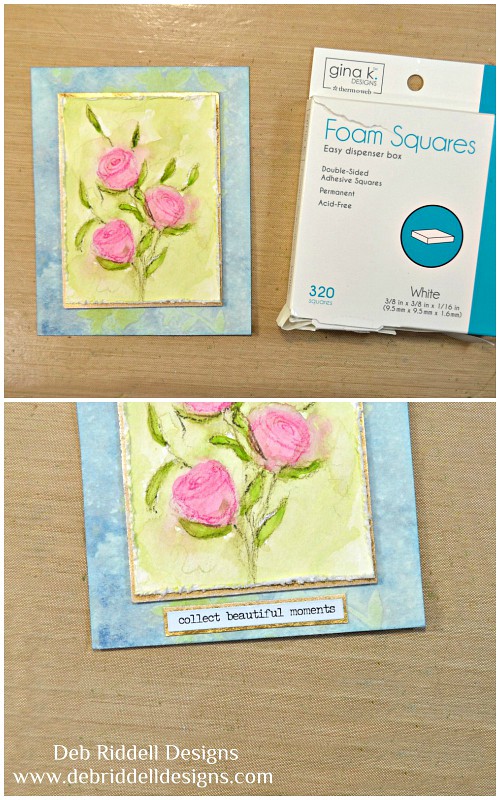
Cut the stenciled background about 1/2" larger on all sides than your watercolour painting and mount the painting on top with foam strips or squares.
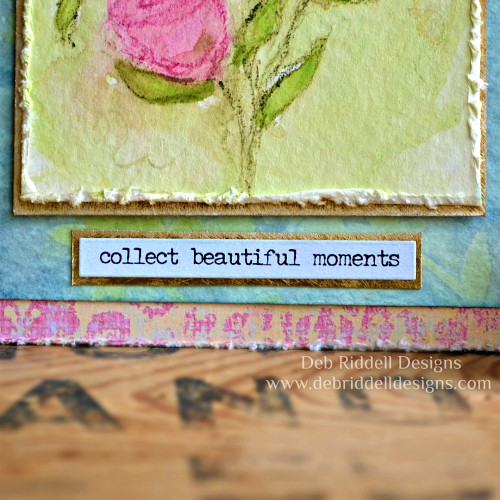
Select a sentiment and mount it on another piece of sanded gold Metallic Kraftstock with a scant 1/8" reveal. Centre the sentiment below the painting.
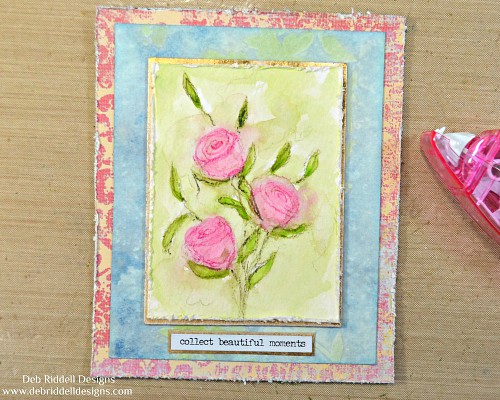
Select a piece of coordinating scrapbook paper for your background 'frame' and lightly distress the edges with a distress tool or your scissors.
If desired, add a die cut easel to the back of the scrapbook paper frame for display or you could also add the assembly to a card blank to make a lovely all occasions greeting card.
Centre your watercolour painting on top of the scrapbook paper frame and you are done.
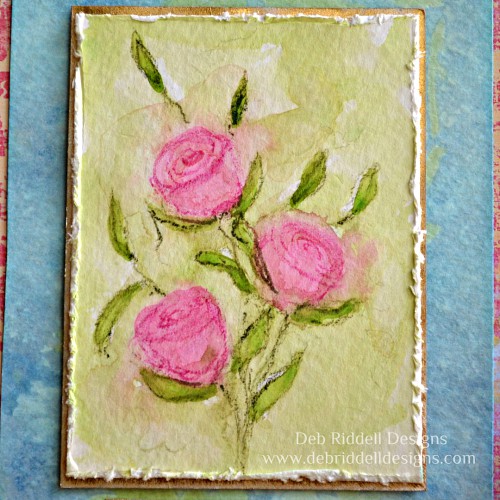
Here are a few more pictures of the finished painting.
I hope that you've enjoyed seeing how my little floral watercolour study came together and that you will join in our Watercolour Wonders challenge with your own watercolour project, you have until August 6th to enter. Can't wait to see what you create, thanks so much for stopping by and happy creating!
Deb xo








Your artwork is breathtakingly beautiful, calming and ... no words to express it's beauty.
ReplyDeleteGreat tutorial , Deb resulting in a wonderful piece. Tfs . x
ReplyDeleteStunning watercolor , (my downfall always!)
ReplyDeleteThe finished result is gorgeous Deb and I really enjoyed seeing how you started the flowers off - great video! xxx
ReplyDeleteGorgeous water color flowers. Nice background for the card.
ReplyDeleteOh my gosh! I am truly speechless! This has got to be one of the most beautiful pieces of art work that I have ever seen! I want it! I want it! I want it! HAHA! Thank you for sharing your amazing talents with us!
ReplyDeleteThis is such a gorgeous card. Always love to see the process too so thanks for spending the time to show us the stages in making. Happy creating, Angela xXx
ReplyDeleteBeautiful watercolouring and great tutorial Deb! Your card is so pretty!
ReplyDeletebeautiful-I am just learning how to paint so I loved the tutorial thanks
ReplyDeleteSo pretty, all vintagy and beautiful. Thank you for the fabulous inspiration and I love the water colouring x.
ReplyDeleteWhat beautiful watercolored roses Deb - thanks for your wonderful step by step here - I keep wanting to try this but never quite sit down to have a go at it!! xx
ReplyDelete